The Silken Court
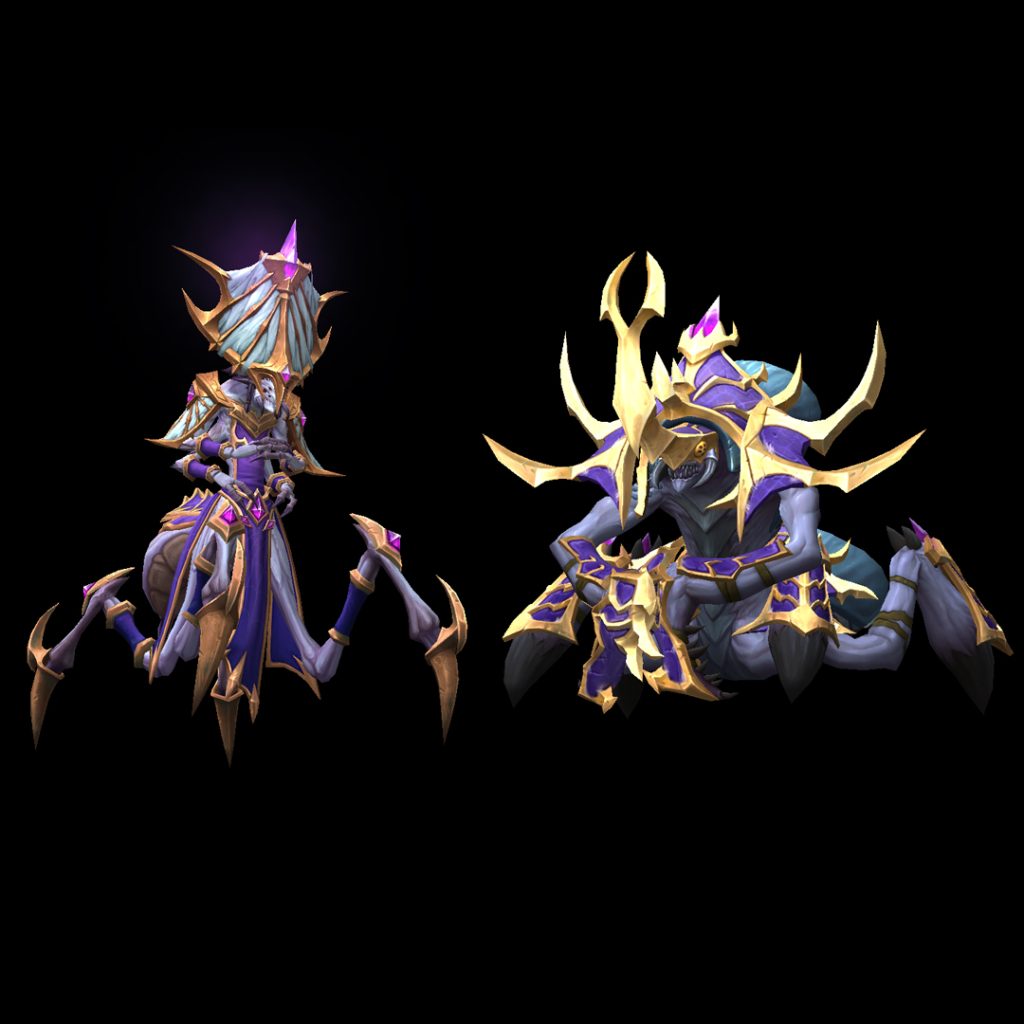
Anub’arash & Skeinspinner Takazj
Scarab Lord Anub’arash and Skeinspinner Takazj are among Queen Ansurek’s most trusted advisors. Yet, these two powerful nerubians harbor a hatred for each other even more powerful than their loyalty to the throne. While unleashing their considerable strength onto their enemies, each also fights to ensure their counterpart does not survive.
Content
The Silken Court Video Guide
The Silken Court Overview:
The Silken Court features two bosses, Anub’arash and Skeinspinner Takazj, who alternate their devastating attacks while vying for dominance. Their combined abilities and alternating phases make this a challenging encounter where players need to manage webbing, swarms of insects, and dangerous charges. Upon reaching full energy, both bosses trigger powerful abilities like Shatter Existence and Spike Storm.
Main Abilities:
- Web Bomb: Takazj launches webs that slow players and explode on impact, dealing damage and entangling targets.
- Reckless Charge: Anub’arash charges in a straight line, dealing massive damage to players in his path.
- Shatter Existence: Takazj ascends to void form and absorbs damage, casting void abilities until interrupted.
- Spike Storm: Anub’arash unleashes a storm of spikes, dealing heavy AoE damage and impaling players.
- Binding Webs: A webbing trap that binds two players together. If they move apart, they take increased damage.
- Stinging Swarm: Anub’arash releases swarms of insects, applying stacking damage over time to the raid.
The Silken Court Short Guide:
Tanks:
- Swap tanking duties when Anub’arash applies Piercing Strike to avoid stacking debuffs.
- Position Anub’arash to avoid his Reckless Charge from hitting the raid, while keeping him near Binding Webs to trigger Entangled for extra damage.
Healers:
- Keep an eye on raid-wide damage from Stinging Swarm and Venomous Rain.
- Dispel players affected by Impaled to free them quickly.
DPS:
- Focus down Shattershell Scarabs during Call of the Swarm before they overwhelm the group.
- Avoid standing in Web Bomb zones to prevent getting trapped.
All Roles:
- Stay spread to avoid excessive damage from abilities like Cataclysmic Entropy and Entropic Desolation.
The Silken Court Detailed Guide:
Phase 1: Clash of Rivals
- Anub’arash will primarily target tanks with Piercing Strike, which increases the damage they take over time. Tanks should swap after each application.
- He periodically uses Reckless Charge, charging across the room, dealing damage, and releasing shockwaves when hitting a wall. Position him carefully to minimize raid damage.
- Skeinspinner Takazj throws Web Bomb to slow and damage players. Avoid standing in the webs, and use burst damage to free players trapped by Binding Webs.
Phase 2: Grasp of the Void
- Once Takazj reaches 100 void energy, she casts Shatter Existence, becoming shielded while unleashing void energy and traps.
- Anub’arash will summon Shattershell Scarabs during this phase. Focus the scarabs before they overwhelm the raid.
- Players need to keep their distance from others to avoid sharing damage from abilities like Entropic Desolation.
Intermissions:
- During Void Ascension, Takazj will cast Entropic Barrage, dealing damage over time and creating void zones that reduce player speed.
- During Raging Fury, Anub’arash shields himself and triggers Spike Storm, summoning spikes that impale players.
Phase 3: Unleashed Rage
- Anub’arash and Takazj will combine their powers in this final phase, using all their abilities at heightened intensities. Stinging Swarm will constantly apply heavy DoT effects, requiring healers to dispel and keep the raid stabilized.
- Players must avoid spike eruptions from Impaling Eruption and burst damage from Cataclysmic Entropy to survive the final phase.
Loot Drops from The Silken Court
| Slot | Item |
|---|---|
| Axe (Two-Hand) | Anub’arash’s Colossal Mandible |
| Feet (Plate) | Shattershell Greaves |
| Neck | Silken Advisor’s Favor |
| Wrist (Cloth) | Skeinspinner’s Duplicitous Cuffs |
| Trinket | Spymaster’s Web |
| Trinket | Swarmlord’s Authority |
| Staff (Two-Hand) | Takazj’s Entropic Edict |
| Hand (Leather) | Thousand-Scar Impalers |
| Shoulder (Mail) | Whispering Voidlight Spaulders |
| Token (Head) | Dreadful Conniver’s Badge |
| Token (Head) | Mystic Conniver’s Badge |
| Token (Head) | Venerated Conniver’s Badge |
| Token (Head) | Zenith Conniver’s Badge |
| Recipe (Jewelcrafting) | Design: Magnificent Jeweler’s Setting |
The Silken Court Kill Boost
Sponsored by Mythic-Store
Looking to defeat The Silken Court without the hassle? Let the Mythic-Store team carry you through this tough raid boss in Normal, Heroic, or Mythic difficulty. Whether it’s loot, achievements, or a quick progression, we’ve got you covered!
Why Choose Mythic-Store?
- 🔥 Fast and Efficient: Quick and smooth raid runs.
- 🎁 Guaranteed Loot: Secure powerful rewards and rare drops.
- ⚔️ Multiple Difficulties: Choose between Normal, Heroic, and Mythic.
- 🔐 Safe and Secure: Professional and trusted boosting team.
How It Works
- Select your difficulty (Normal, Heroic, Mythic).
- Book your slot and relax.
- Get your loot and achievements after the run!
Ready to defeat The Silken Court with ease? Book your The Silken Court Kill Boost now and enjoy guaranteed success!
