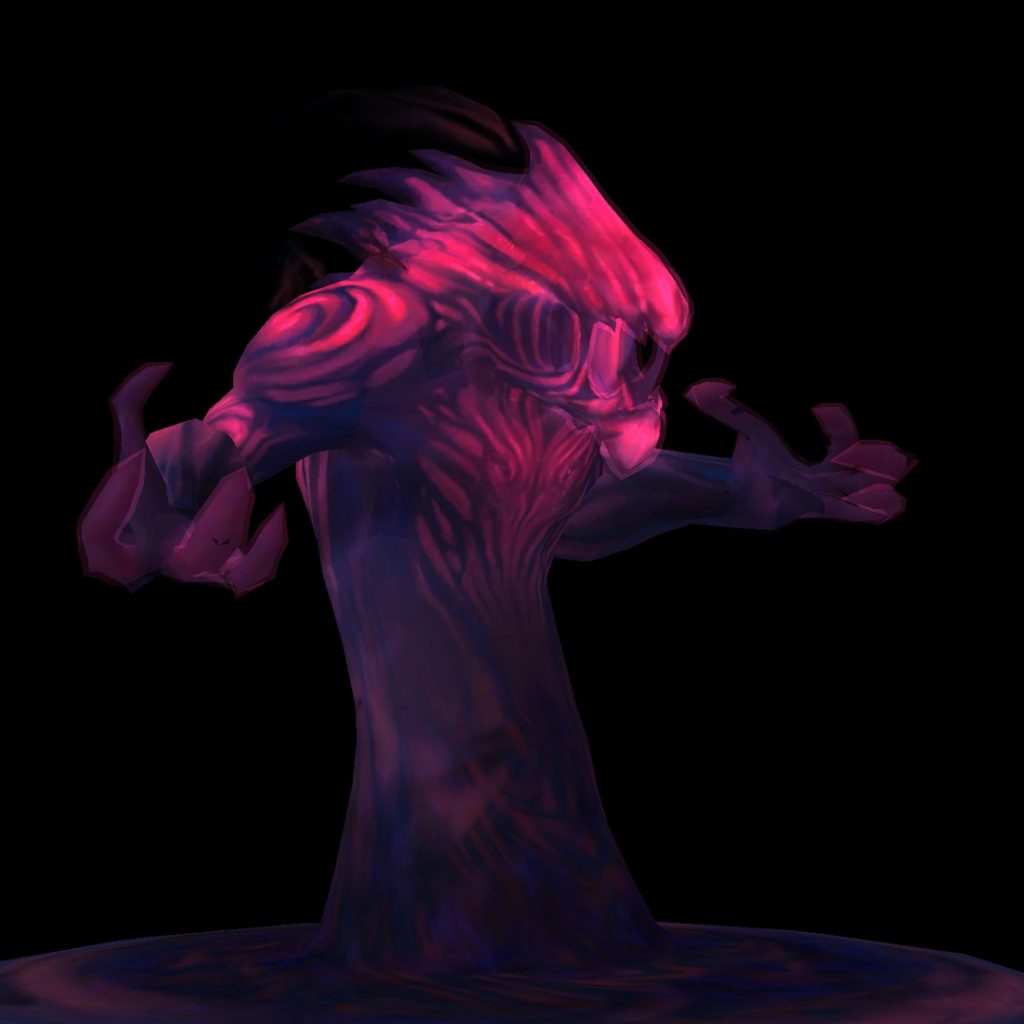
The Bloodbound Horror
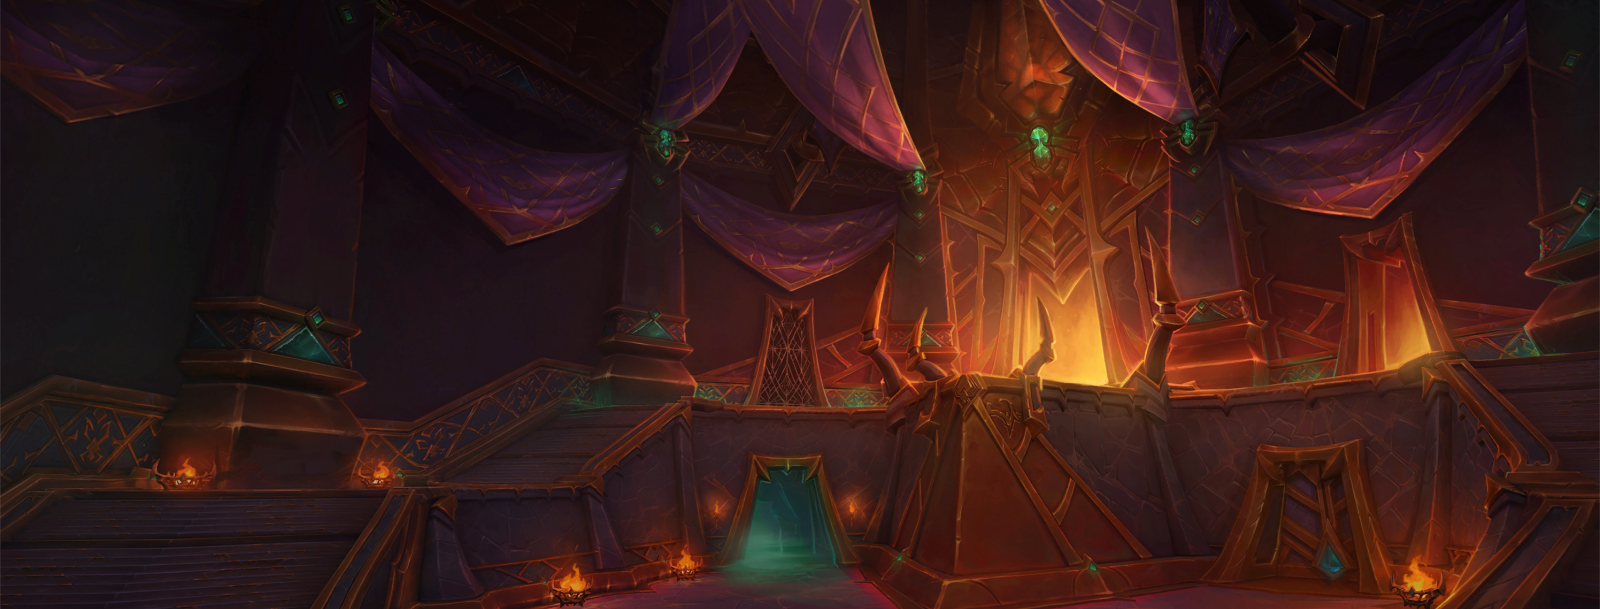
In the dark pits below Nerub-ar Palace, the blood of the Old Gods congeals in foul, black pools. The Bloodbound Horror rises from this vile ooze — drawing everything in its path into The Unseeming.
The Bloodbound Horror is the second boss encounter in the Nerub’ar Palace raid, known for its deadly combination of blood-based mechanics and an alternate shadow realm called The Unseeming. This fight tests your raid’s coordination as you manage both realms and handle adds, blood pools, and debuffs.
The Bloodbound Horror Video Guide
Overview
The Bloodbound Horror is a single-phase encounter with an extra twist: certain mechanics send players into The Unseeming, an alternate realm where players must deal with adds and other hazards. Managing when to enter The Unseeming and handling the dangerous abilities in both realms is key to success.
Main Abilities
- Gruesome Disgorge (Tanks): A frontal cone attack that sends the tank into The Unseeming.
- Goresplatter (All Roles): A large circle that deals heavy magical damage over time, requiring players to dodge.
- Crimson Rain (Healers): An unavoidable healing absorption debuff that healers need to dispel and manage.
- Grasp From Beyond (All Roles): Spawns tentacles under players, dealing damage if not avoided.
- Spewing Hemorrhage (All Roles): The boss fires rotating laser beams that deal massive damage if not dodged.
The Bloodbound Horror – Short Guide
- Tanks: Alternate between realms to manage Gruesome Disgorge.
- Healers: Dispel Crimson Rain and prepare for heavy damage during Goresplatter and Spewing Hemorrhage.
- DPS: Manage adds in The Unseeming and avoid damage from Grasp From Beyond.
- All Roles: Dodge Spewing Hemorrhage and avoid standing in the blood pools around the room.
Mythic Mode Enhancements
- Additional tentacles from Grasp From Beyond require more mobility.
- Spewing Hemorrhage rotates faster, demanding quicker reactions.
The Bloodbound Horror Boss Guide for Nerub-ar Palace
(Normal, Heroic, and Mythic)
Phase 1: The Black Blood
The boss begins by casting Gruesome Disgorge, a frontal cone attack that sends the tank into The Unseeming. The tank must manage adds in this realm, while the rest of the raid deals with other mechanics in the main realm.
- Grasp From Beyond: Marks several players with black puddles that spawn tentacles. Players need to spread out and dodge the eruptions to avoid taking heavy damage.
- Goresplatter: Creates a large circle that deals damage over time to players within its range. Use speed boosts and Warlock gateways to move out of range quickly.
During this phase, DPS players in the main realm should focus on dodging abilities and managing the tentacles while healers deal with constant raid-wide damage.
Phase 2: The Unseeming
Once the tank enters The Unseeming, they will encounter adds that must be killed quickly to avoid overwhelming the raid:
- Lost Watcher: This add needs to be interrupted during its Black Bulwark cast to prevent a large absorb shield from forming on the boss.
- Forgotten Harbinger: Summons Blood Horrors that move toward the boss. If too many reach the boss, the raid will take significant damage.
Players in The Unseeming must focus on quickly killing these adds while dodging abilities like Spewing Hemorrhage, a rotating laser that must be avoided by all players.
Mythic Mode Enhancements
- Grasp From Beyond: More tentacles spawn during this phase, requiring even more mobility and coordination from the raid.
- Black Sepsis: If no players are in range of the boss, it deals raid-wide damage every 2 seconds, requiring tanks to carefully manage positioning.
Key Strategies
- Tanks: Alternate between The Unseeming and the main realm to manage Gruesome Disgorge. Make sure to control where the frontal attack lands to avoid hitting other players.
- Healers: Prepare for constant raid-wide damage from Crimson Rain and dispel it regularly.
- DPS: Focus on killing adds quickly in The Unseeming and managing tentacle spawns from Grasp From Beyond to avoid overwhelming the raid.
Loot Drops from The Bloodbound Horror
| Slot | Item |
|---|---|
| Quest item | Storm Spirit |
| Trinket | Aberrant Spellforge |
| Shoulders (Cloth) | Beacons of the False Dawn |
| Head (Leather) | Beyond’s Dark Visage |
| Weapon (One-Handed Dagger) | Blood-Kissed Kukri |
| Legs (Plate) | Bloodbound Horror’s Legplates |
| Feet (Plate) | Boots of the Black Bulwark |
| Trinket | Creeping Coagulum |
| Chest (Mail) | Goresplattered Membrane |
| Finger | Key to the Unseeming |
| Waist (Mail) | Lost Watcher’s Remains |
| Wrists (Leather) | Polluted Spectre’s Wraps |
| Weapon (One-Handed Mace) | Scepter of Manifested Miasma |
| Waist (Cloth) | Shattered Eye Cincture |
The Bloodbound Horror Kill Boost
Sponsored by Mythic-Store
Looking to defeat The Bloodbound Horror without the hassle? Let the Mythic-Store team carry you through this tough raid boss in Normal, Heroic, or Mythic difficulty. Whether it’s loot, achievements, or a quick progression, we’ve got you covered!
Why Choose Mythic-Store?
- 🔥 Fast and Efficient: Quick and smooth raid runs.
- 🎁 Guaranteed Loot: Secure powerful rewards and rare drops.
- ⚔️ Multiple Difficulties: Choose between Normal, Heroic, and Mythic.
- 🔐 Safe and Secure: Professional and trusted boosting team.
How It Works
- Select your difficulty (Normal, Heroic, Mythic).
- Book your slot and relax.
- Get your loot and achievements after the run!
Ready to defeat The Bloodbound Horror with ease? Book your The Bloodbound Horror Kill Boost now and enjoy guaranteed success!